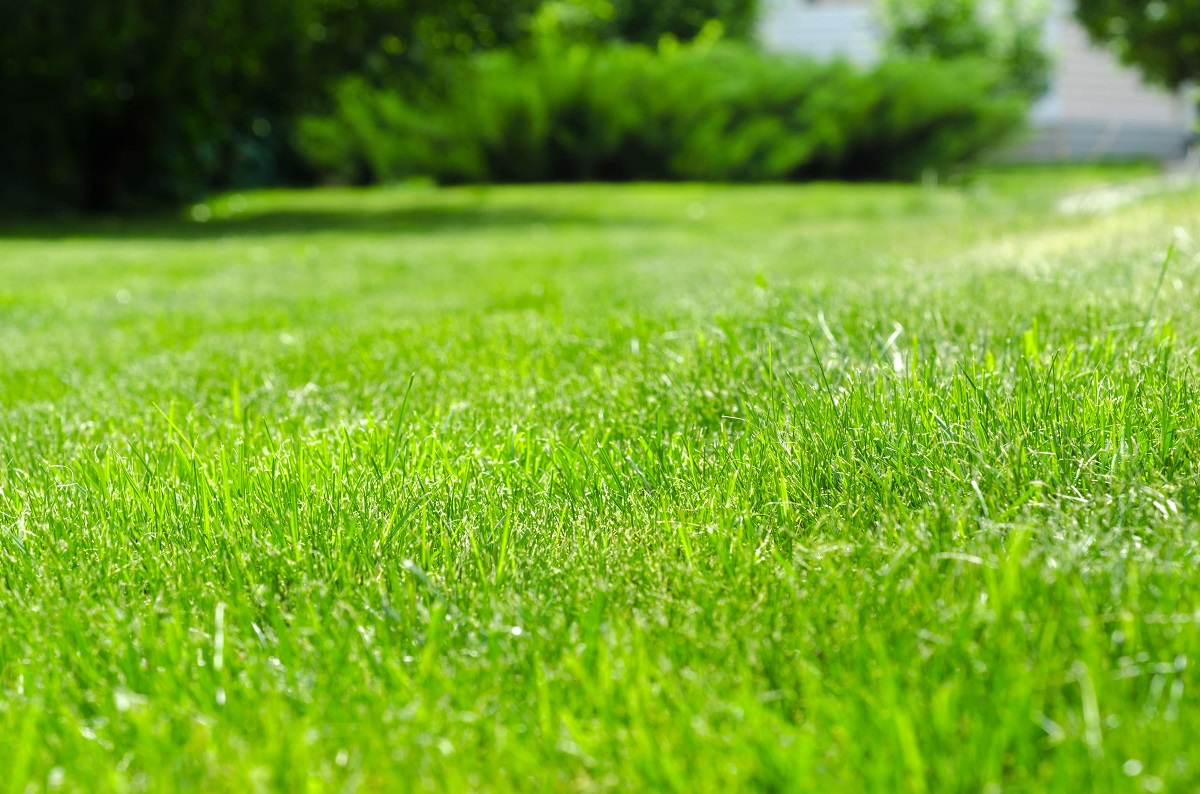
How to Reduce Lawn Stress in Summer
March 14th, 2025You probably don’t think about it much, but your lawn can suffer from stress just the way you do, but homeowners can reduce lawn stress this summer by taking a few simple precautions. Heat and dry weather are major stressors for grass, and additional stressors like bugs and weeds could wreak additional damage on already stressed grass.

Stay off the Grass
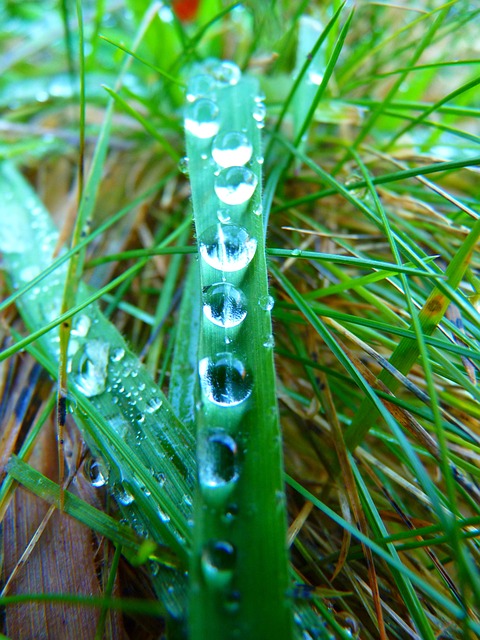
Hydrated grass will spring back quickly when someone walks on it or it has pressure applied to it, but dry grass will not. Damage is highly-probably when you continuously walk on dried out grass. However, if soil is too wet, constant foot traffic will compact the ground and air cannot get to the grass’s roots. You can reduce lawn stress by keeping foot traffic to a minimum during the hottest parts of the year.
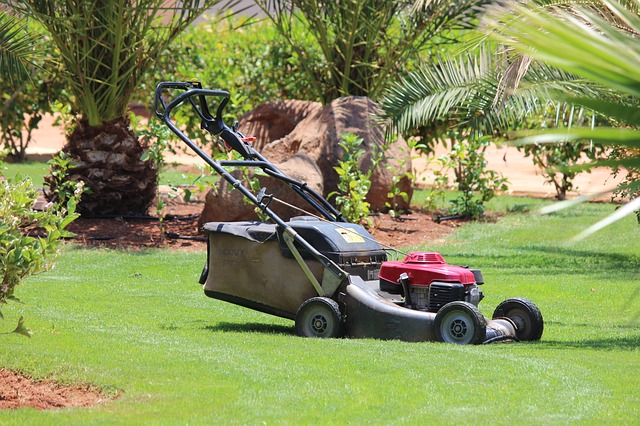
Keep Mower Blades Sharp and High
If your mower blades dull, they will shred the grass when you mow. Shredded grass loses more water than if it was a clean cut, and the shredded tips will turn brown and look dull too. Grass that is cut too short will also dry out faster and its roots won’t be as deep. The longer you keep your grass, the more potential it has to grow deep roots. You can reduce the amount of strain on your grass if you keep it a little longer in the heat of summer.
Avoid Feeding it When it’s Stressed
Grass does not grow when it is stressed, so feeding it isn’t going to help it grow. It is better to feed grass earlier in the year before temperatures start to soar. You can help your lawn recover better once the temperatures start to fall again by feeding it again.
Related: Top 4 Tips for Garden Weed Control
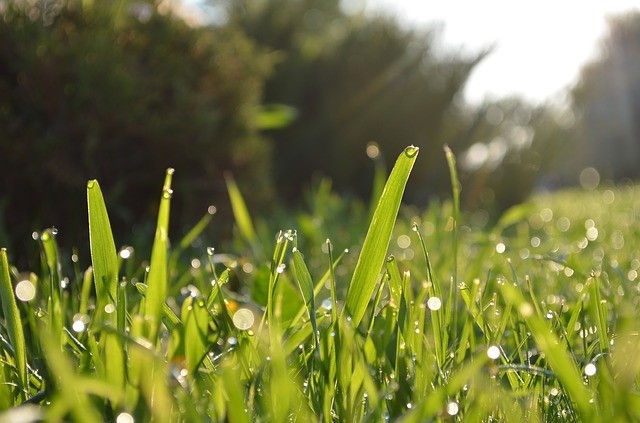
Water it in the Morning
The best time to water your lawn is between six and ten AM. You’ll lose less water to evaporation and the grass has time to dry before night. When you water your grass in the afternoon sun, you’ll lose a great deal of the water to evaporation. However, when you water at night, you risk causing disease. For the best results, water a half-inch twice a week or an inch once a week in the morning.
Use Extra Seed in the Fall
If you live in an area where your grass is prone to heat stress during the summer, it might be a good idea to over-seed your lawn in the fall with a breed of grass that is heat and drought resistant. There are breeds of grass, such as Tifway 419 that will stay green even during times of drought and recovers very well when damaged.
You want your lawn to look good for as long as possible during the warmer months of the year. Taking these few simple steps to reduce lawn stress can help keep your grass looking better even in the most intense heat of summer.
Evergreen Turf is your source for the highest quality sod in Arizona. Our friendly, knowledgeable people are committed to answering all of your questions to ensure a stress-free experience with your new Arizona sod lawn. Whether you wish to sod a small play area for the family or an entire golf course, Evergreen Turf can help you make it happen.
Our team serves customers throughout Arizona, including Phoenix, Mesa, Tempe and Tucson. Browse our website for information and tips on how to create and maintain a beautiful lawn, or give us a call and talk to one of our sod specialists at 480-456-1199 if you don’t find what you are looking for. Better yet, stop by and meet the team at our convenient Chandler location.
 Laying new sod in a yard is a fairly straightforward process but it does take the right tools, some expertise and a measure of patience. Without even one of these, the homeowner is probably destined to have a brown and dying lawn by the end of the summer. Here are the most important Do’s and Dont’s to know when laying sod in Arizona: