Here at Evergreen Turf, we talk about sod a lot! In fact, we’ve been writing blog posts and articles on how best to care for your sod lawn in Arizona for over a decade. People from Phoenix to Tucson and the cities in between turn to us, not just for sod installations, but for lawn care tips. Why? Because they know they can trust us to provide accurate information on creating healthy lawns in Arizona. Here is a collection of our top 10 tips for Arizona sod, from our article archive. Enjoy!
Best Fertilizer for St Augustine Grass
The best fertilizer for St Augustine grass will vary, but the rule of thumb is one pound of nitrogen for every 1,000 square feet. Fertilizing every two months is ideal unless you apply slow-release nitrogen that can be spread every 10 weeks. There are numerous fertilizers marketed for St. Augustine specifically such as Lesco St. Augustine Lawn Fertilizer, Dr. Earth Organic Super Natural Lawn Fertilizer and Pennington’s Weed and Feed product.
Learn more here: https://www.evergreenturf.com/best-fertilizer-for-st-augustine-grass.php
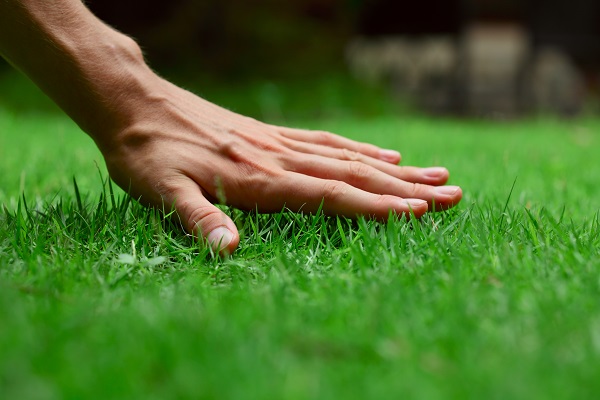
How Long Does It Take For Sod To Take Root
The process takes about two weeks for shallow roots and up to six weeks to establish deep root growth.
Be sure to read the full article for tips on how to encourage deep root growth, as well as how to best prepare your soil for sod. Learn more here: https://www.evergreenturf.com/How-Long-Does-It-Take-for-Sod-to-Take-Root.php
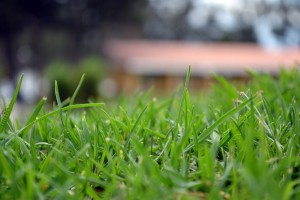
The Best Grass For Arizona Lawns
For the warm seasons, the best types of grass for Arizona lawns are Bermuda grasses, such as Tifway, Midiron and others. Palmetto St. Augustine is also a great choice for warm seasons, as it is the most heat-tolerant of all St. Augustine cultivars. For winter grass, the best option is perennial ryegrass. You want to over-seed your summer lawn with perennial ryegrass in the fall when the temperatures outside start to drop to ensure a lush, green winter lawn.
Learn more here: https://www.evergreenturf.com/best-grass-arizona-lawns.php
How To Make St. Augustine Grass Thicker
In a nutshell, you want to follow these five steps to make St. Augustine grass thicker:
- Properly prepare the soil.
- Water sufficiently – the watering schedule varies based on whether you’re working with a freshly installed lawn or a mature lawn, as well as time of year.
- Mow the lawn to the proper height, make sure your mower has sharp blades, and don’t bag the trimmings.
- Fertilize with one pound of nitrogen per 1,000 square feet of lawn space. Fertilize during periods of active growth only.
- Hand pull weeds whenever possible, and be very careful if you choose to use chemical herbicides.
Learn more here: https://www.evergreenturf.com/how-to-make-st-augustine-grass-thicker.php
How To Keep Grass Green in Five Steps
- Choose a type of sod that will work best in your yard.
- Test your soil.
- Water thoroughly but do not over-water.
- Don’t mow too short.
- Aerate your lawn once in spring and once in fall.
Learn more here: https://www.evergreenturf.com/How-to-Keep-Grass-Green-in-5-Easy-Steps.php
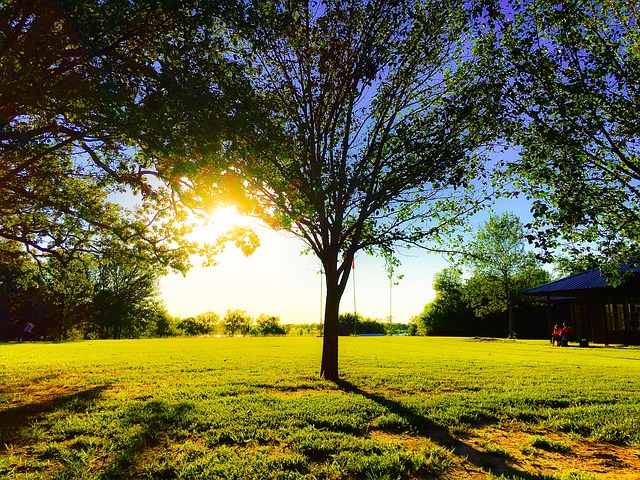
How To Have Year-Round Grass in Arizona
Bermuda grass is used most often for Arizona lawns during the warm months. It will stay green and continue to grow as long as it has enough water. It is a perennial grass, meaning it comes back year after year. Its active season is usually from May to September.
In September or October, when the temperatures start to get cooler, Bermuda grasses will begin to turn yellow. While your lawn may look dead, it actually is not, this just means the grass has gone dormant.
If you want to ensure that your lawn is green from October through May until the Bermuda grass becomes active again, you will want to overseed your lawn with Rye grass. This grass is suited to cooler temperatures and will begin to die off in May once the afternoons start to become hotter.
Learn more here: https://www.evergreenturf.com/how-to-have-year-round-grass-arizona.php
Why and When To Fertilize Your Lawn
Why should you fertilize your lawn? Because fertilizers help to build a better root system, which in turn helps protect your lawn from extreme heat, cold, drought, foot traffic, and other stress factors.
When should you fertilize your lawn? You should fertilize several times throughout the year:
- February – April – Strengthens the roots and helps to set it up for success during the heavy growing season.
- April – June – Gives your lawn the energy it needs to stay healthy during the summer and fall.
- June – August – Encourage continued growth so that you still have a lawn in the fall.
- September – November – Your lawn is ready for another growth period, and will need nutrients in order to thrive. Apply your fertilizer just before the winter chill hits in order to increase nitrogen storage.
Learn more here: https://www.evergreenturf.com/Why-and-When-to-Fertilize-Your-Lawn.php
The Best Time To Install Your Arizona Sod Lawn
Sod can be installed year round as long as the soil is properly prepared beforehand.
Learn more here: https://www.evergreenturf.com/Best-Time-Install-Arizona-Sod-Lawn.php
A Guide To 15-15-15 Fertilizer
5-15-15 fertilizer is a fertilizer that contains equal parts of nitrogen, phosphorous, and potassium. It is the best option when you’re installing new sod in Arizona because the soil in Arizona naturally has little to no phosphorous content.
Learn more here: https://www.evergreenturf.com/15-15-15-fertilizer-guide-arizona.php
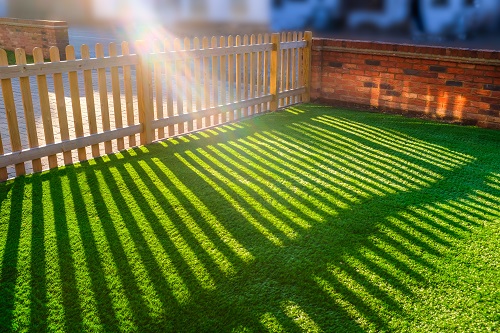
Best Watering Practices for Arizona Sod
- When to water freshly installed sod: For the first two weeks after you install your new sod, you should water it four to eight times per day in short intervals of five to ten minutes to keep the sod evenly moist.
- Water an established lawn two to three times per week for ten to 25 minutes. Try to water early in the morning or in the evening.
- Rainwater and recycled household water can supplement your traditional water supply. Check your local laws to ensure it is legal to do so.
- Sprinklers and timers can help make watering sod in Arizona more efficient.
Learn more here: https://www.evergreenturf.com/best-watering-practices-arizona-sod.php